MacOS X Dial-Up Walkthrough
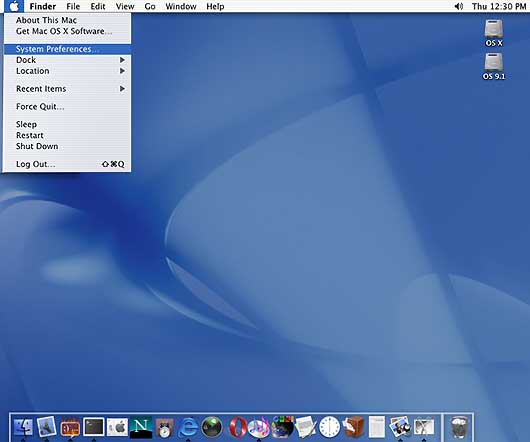
To begin setting up your Macintosh for Connectto.net dial-up begin by clicking on the Apple Icon in the top left-hand side of your screen. Now move down and click on System Preferences (as seen below).
This will open the System Preferences window. This is where you make most changes on your system. The next step for setting up your dial-up is to click on the Network icon (Pictured Below).

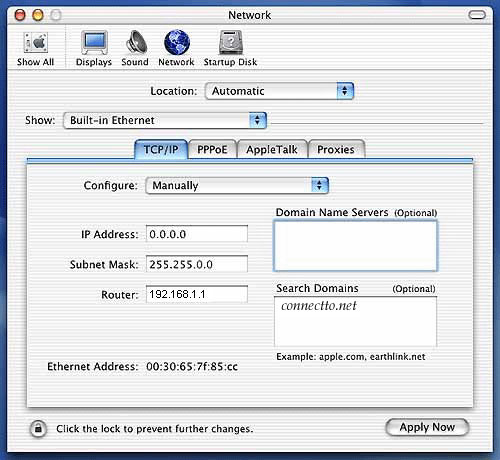
This will open up the Network Control Panel. This is used to configure any connections to the internet or other machines.
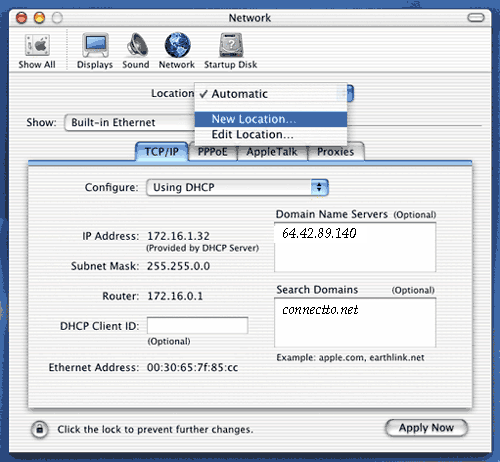
Click on the Location pull down menu and select New Location (as seen below).
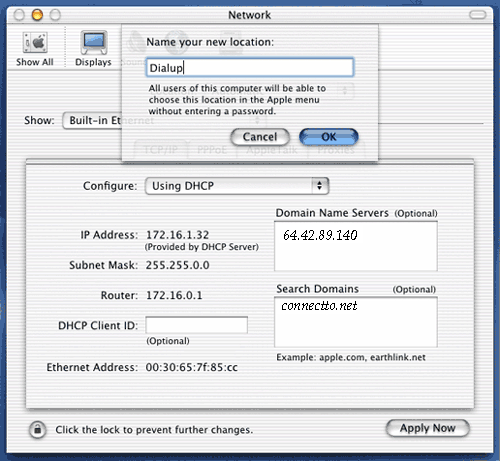
Next you will be prompted to name the new location. Just name it Dialup and click OK.
Next you will want to move to the Configure: pull down in the TCP/IP window (shown below). On this pull down menu you will select Using PPP.

At this point you will want to add these DNS entries in the Domain Name Servers window shown above.
64.42.89.140
64.42.89.100
Next add Connectto.net in the Search Domains window and click the Apply Now button on the bottom right. Next to the TCP/IP tab you should see a tab labeled PPP. Click there.
Now you should see the window below.
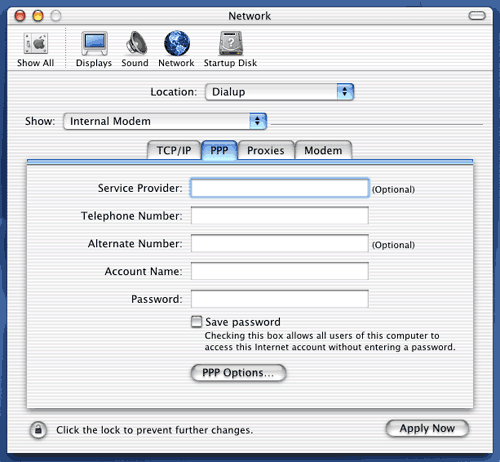
First you will see Service Provider. This should say Connectto.net. The next line is for Phone Number. Fill out this section with the Dial up access phone number for your area.
The Password is the password you set up when you started your service with us. Remember that usernames and passwords are Case Sensitive. Click on Save password and then Apply Now.
Close the window by clicking the red circle in the top left of the window. From this point on, whenever you click on the Internet Explorer icon or any other Internet based application OS X will dial up and connect you automatically. Congratulations! You are ready to surf the internet.